Owning an RV or camper can make for beautiful outdoor adventures and summer road trips to remember. However, when it gets cold out, you’ll probably want to put your trusted companion away for the winter and protect it from any damage it might suffer while not in use. This is where winterization becomes a necessity to keep your vehicle in good condition and avoid costly repairs.
In this article, we’ll go over everything you need to know when winterizing your RV, from cleaning to maintenance and everything in between. We’ll help you understand how to take care of the water system, propane, and batteries, and provide a few pointers on what storage options might be best for you.

Looking for a PDF checklist?
How do I winterize my RV’s water system?
Frozen water left in your RV during the winter can both block the flow of water and crack the pipes, leading to expensive repairs or replacements. Fortunately, it’s easy to prevent this freezing if you follow these steps.
- Turn the water heater off if you haven’t already.
- Bypass the water heater. Your RV will likely have a bypass installed, but check your owner’s manual to be sure.
- Drain and flush all pipes. Make sure you do this with all the faucets open to make sure everything is clear.
- Fill the water system with antifreeze before cold temperatures hit. Pour it into all of your drains as well.
Check your owner’s manual if you have any extras like an ice machine or dishwasher, as these might require a couple of extra steps to clear water out.
How do I clean my RV for winter?
Making sure your RV is clean inside and out will not only help it look better, but it’ll also prevent damage and stains that could get in the way of performance. Here are a few steps to follow when deep-cleaning your vehicle.
Interior
- Remove any fabrics, such as linens, towels, and clothing.
- Lift and prop up couch cushions and mattresses to allow optimal airflow.
- Remove all food and beverages.
- Inspect for and clean off any mold and mildew.
- Empty and clean out all storage spaces.
- Place an open box of baking soda inside the fridge to absorb moisture.
- Use silica gel drying agents in cupboards and corners to reduce humidity.
- Consider purchasing an RV dehumidifier for extra protection.
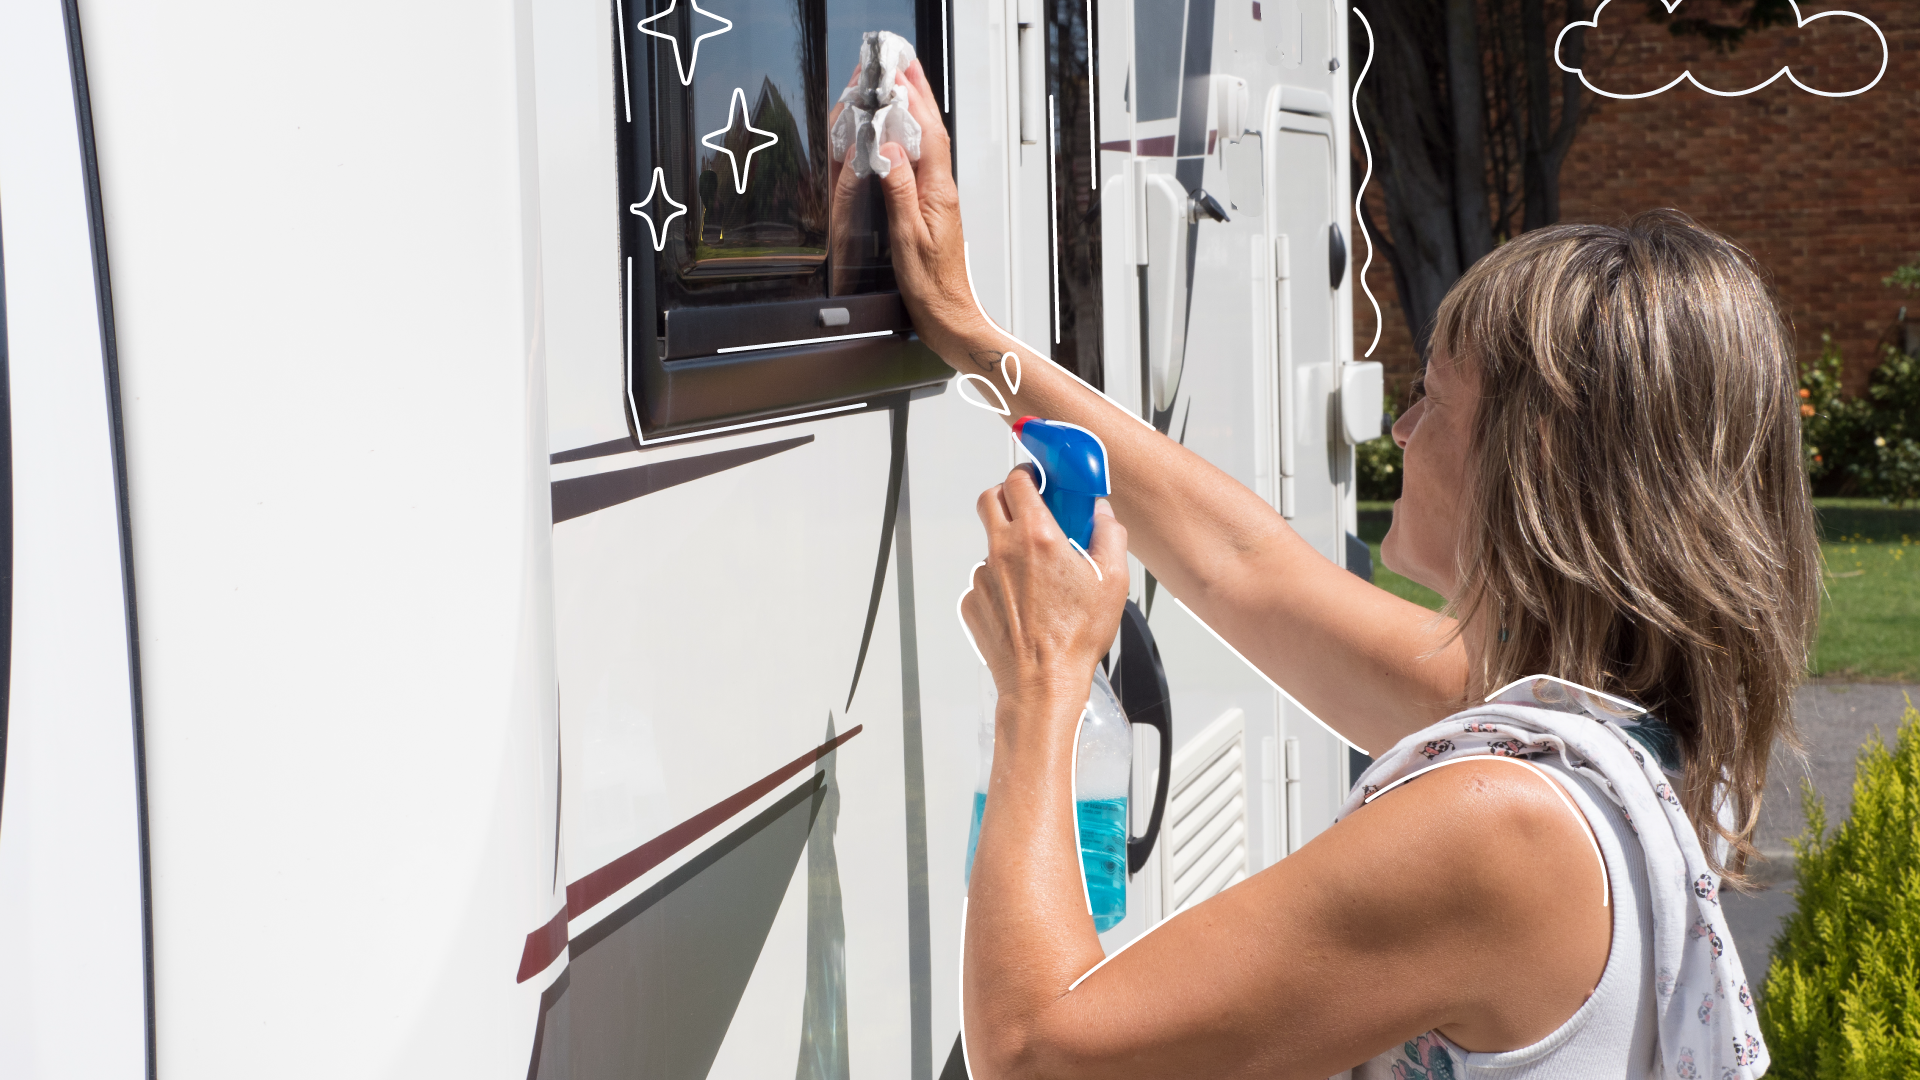
Exterior
- Remove items from, then clean all exterior storage spaces.
- Clean and dry the RV’s exterior, inspecting for cracks or split seams.
- Use a sealant to patch up any gaps.
- Apply a high-quality wax or protectant.
- Clean and dry the awning to prevent mold growth.
- Cover exterior vents to prevent ice, snow or pests from entering.
How do I winterize my RV’s engine and fuel system?
Engines and fuel systems are what keep your RV running, so protecting them is crucial. Luckily, there are three easy steps to keep everything in good shape.
- Fill up the fuel tank before storage. A full tank will prevent moisture from building up inside.
- Add a reliable fuel stabilizer to prevent engine damage. Let the engine idle to allow the stabilizer to circulate through the system.
- Replenish all your fluids. Inspect and refill oil, coolant, brake fluid, and windshield wiper fluid. Top off your radiator with a quality antifreeze, and make sure you use an antifreeze rated for extreme conditions if you’re located in an area that gets extremely cold.
How do I winterize my RV’s tires and brakes?
Protecting the tires and brakes on your vehicle during the winter will ensure a smooth ride when it warms up again, and it’s one of the simplest processes to carry out.
Tires
Make sure you inflate your tires to the recommended pressure in your owner’s manual, and cover them with UV protection if you’re storing them outside to prevent sun damage. Jacking your RV up off the ground during storage will remove the vehicle’s weight from the tires, ensuring they last even longer.
Brakes
Take your vehicle in for a professional brake inspection before storage to catch any signs of trouble before the cold makes them worse. Replace your brake pads if necessary, and be sure the brake fluid is full and fresh before you put your RV away.
How do I winterize my RV’s propane system?
Making sure any volatile chemicals, such as propane, are removed from your RV before storage will prevent any risk of fire or explosion. Switch off any tanks you have connected and drain the propane lines before storage.
If you’ll be storing your RV indoors over the winter, you need to remove any attached propane tanks and store them upright in an outdoor, well-ventilated area.
How do I winterize my RV’s battery?
Without proper care, your RV can come out of storage with a damaged or dead battery. Keep your battery lasting a long while by following these steps.
- Turn off your RV’s disconnect and breaker switches.
- Disconnect your battery. Always remove the negative cable first.
- Remove single batteries and store them fully charged in a warm, dry environment.
- Consider using an RV battery trickle charger to maintain your battery’s charge while in storage.
- If your RV has multiple batteries, it’s best to keep them installed. Disconnect the negative battery cable and check the charge level throughout the winter. If necessary, recharge the batteries.
- If you have lead-acid batteries, clean them with baking soda and water before storage to remove corrosion.
- Don’t use or charge your battery if temperatures drop below 30° F.
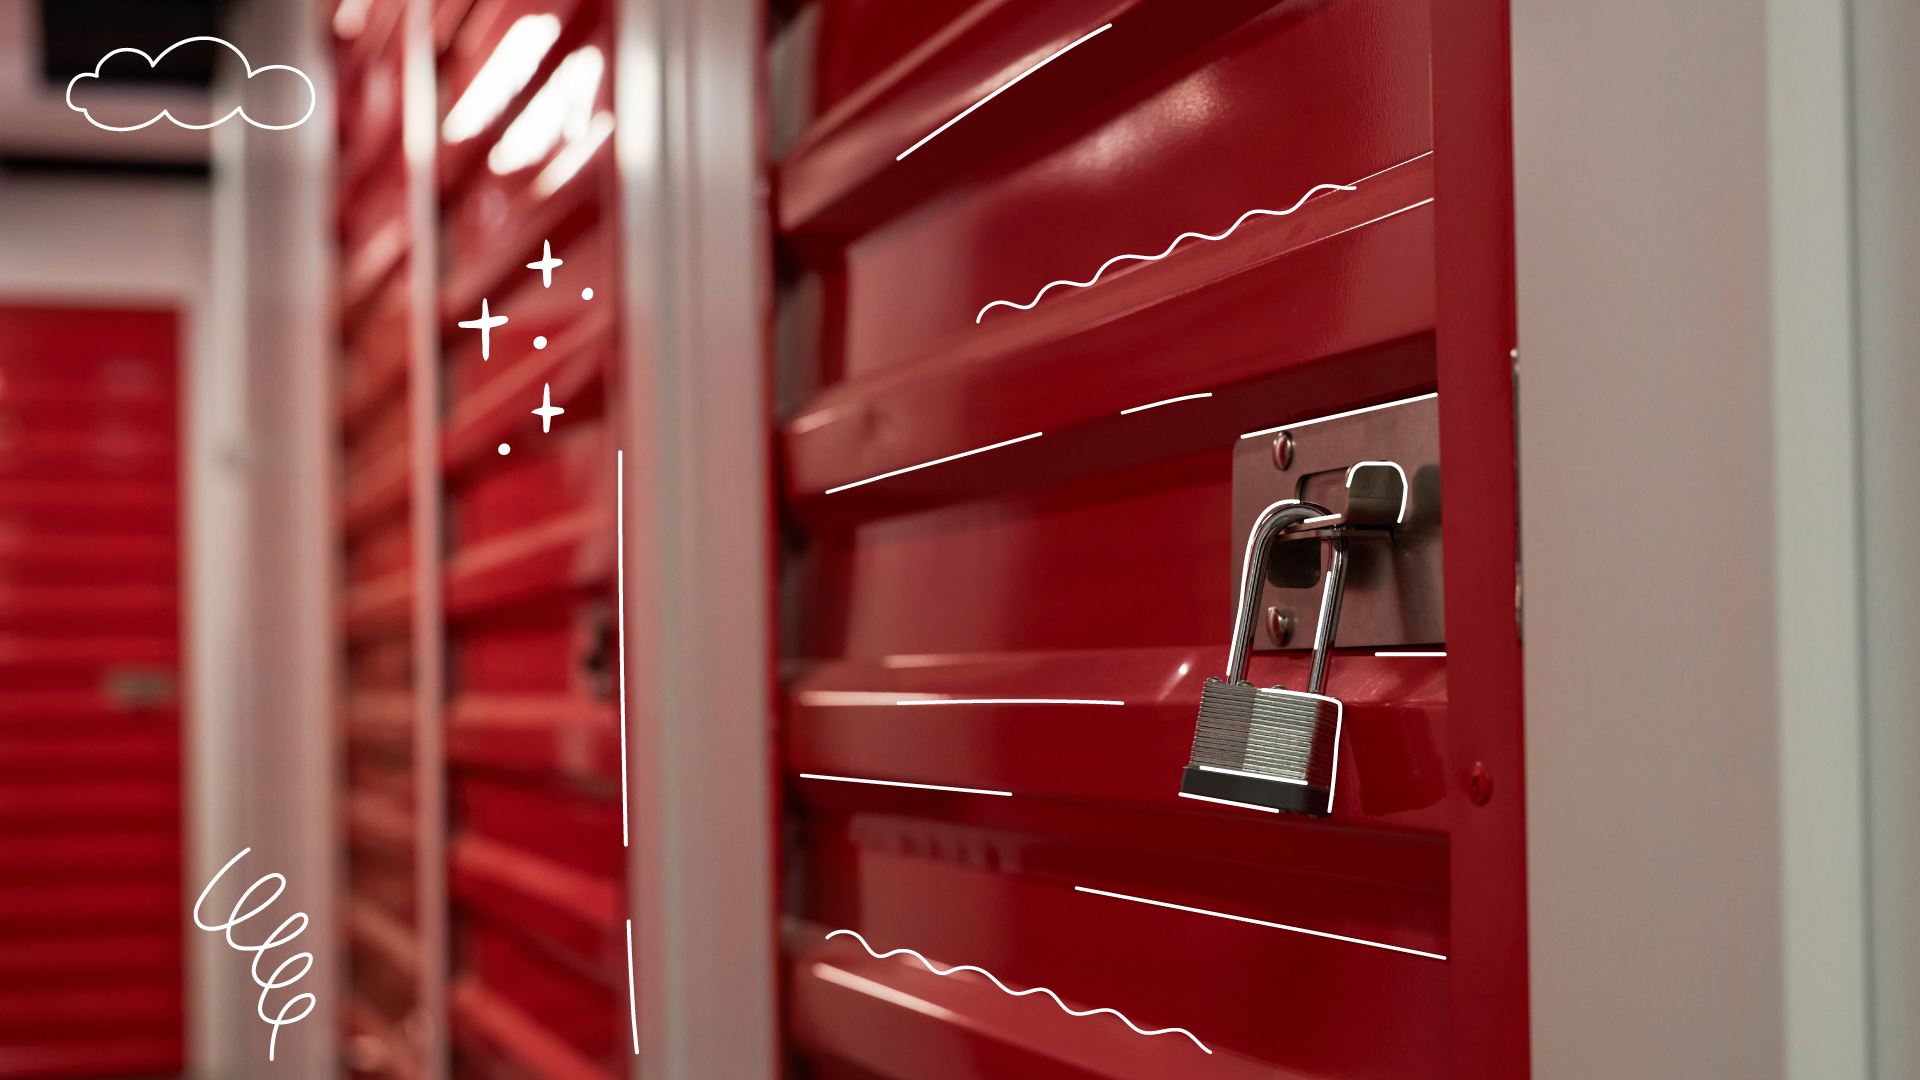
What options are available for storing my RV during the winter?
Renting vehicle storage is an excellent way to keep your RV in good condition, so let’s go over the pros and cons of indoor and outdoor RV storage to help you decide which is the best for your needs.
Indoor storage
Pros:
- Protection from heat, cold, humidity, and sun rays.
- Security features to prevent vandalism and theft.
- Pest control and climate control.
Cons:
- Higher cost than outdoor storage.
- Will likely need to reserve in advance.
- Depending on company policies and operating hours, you may not be able to access your RV whenever you need to.
Outdoor storage
Pros:
- Lower cost than indoor storage.
- Easier to access at any hour you need.
- Can reserve on much shorter notice.
Cons:
- Less protection from extreme weather, potentially leading to more repairs.
- Less robust security.
- No built-in pest control.
How do I make sure I’ve completed all the winterization tasks I need for my RV?
Now that you understand how important winterizing your RV is and how to do it, here’s a handy checklist to follow when it’s time to put your vehicle away.
- Drain and flush all pipes.
- Add antifreeze to your water system.
- Remove all bedding, food and clothing, then thoroughly clean your RV’s interior and exterior, including the storage spaces.
- Check the exterior for cracks or split seams.
- Fill your fuel tank and add a fuel stabilizer.
- Check your radiator and top up all fluids.
- Inflate your tires and consider using UV-reflective tire covers if you’re storing your RV outdoors.
- Check your brakes.
- Turn off the propane tank(s) and remove if you’re storing your RV indoors.
- Disconnect your battery. Remove single batteries and store in a warm, dry environment and consider using a trickle charger. Keep multiple batteries charged and connected.
- Choose carefully between indoor and outdoor storage for your RV.
If you’ve followed every step with care, your RV is more than ready for winter. Once warmer weather rolls around, you’ll be prepared to set everything back up and hit the road once again!
Looking for the best RV self storage solution during the winter and beyond? We can help! Check out our built-in search tool to compare vehicle storage facilities near you with all the features you need.